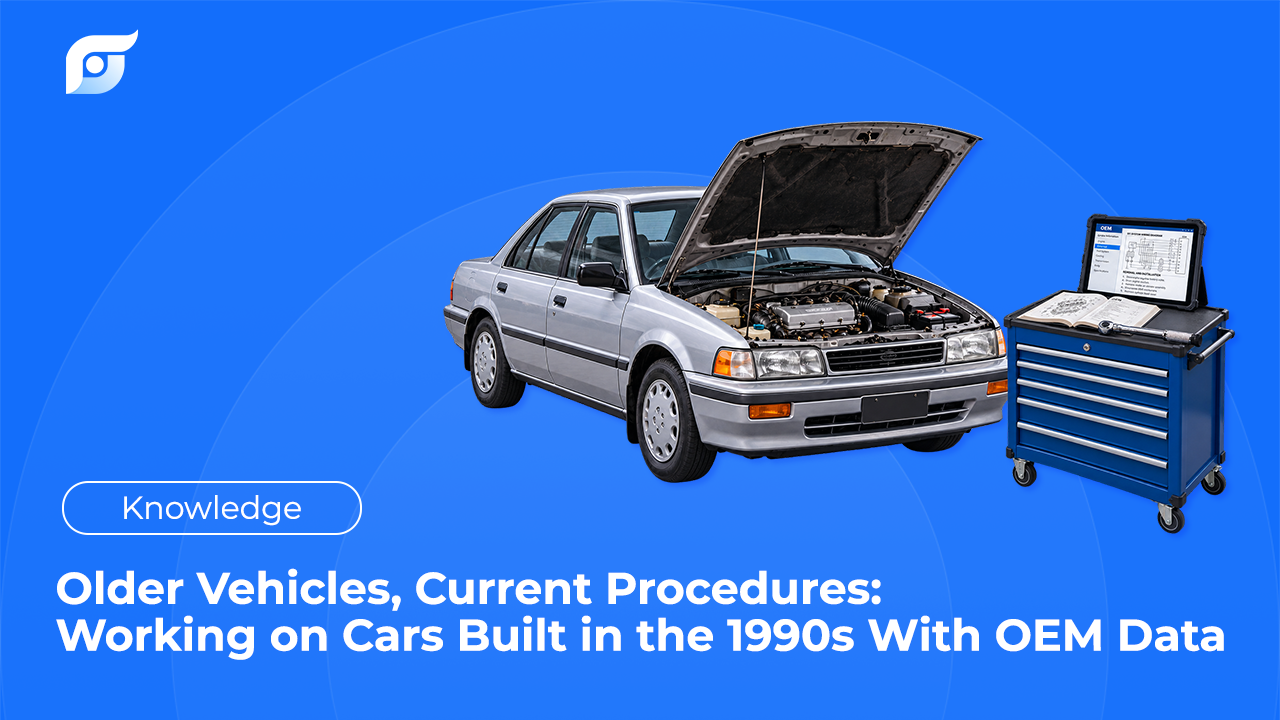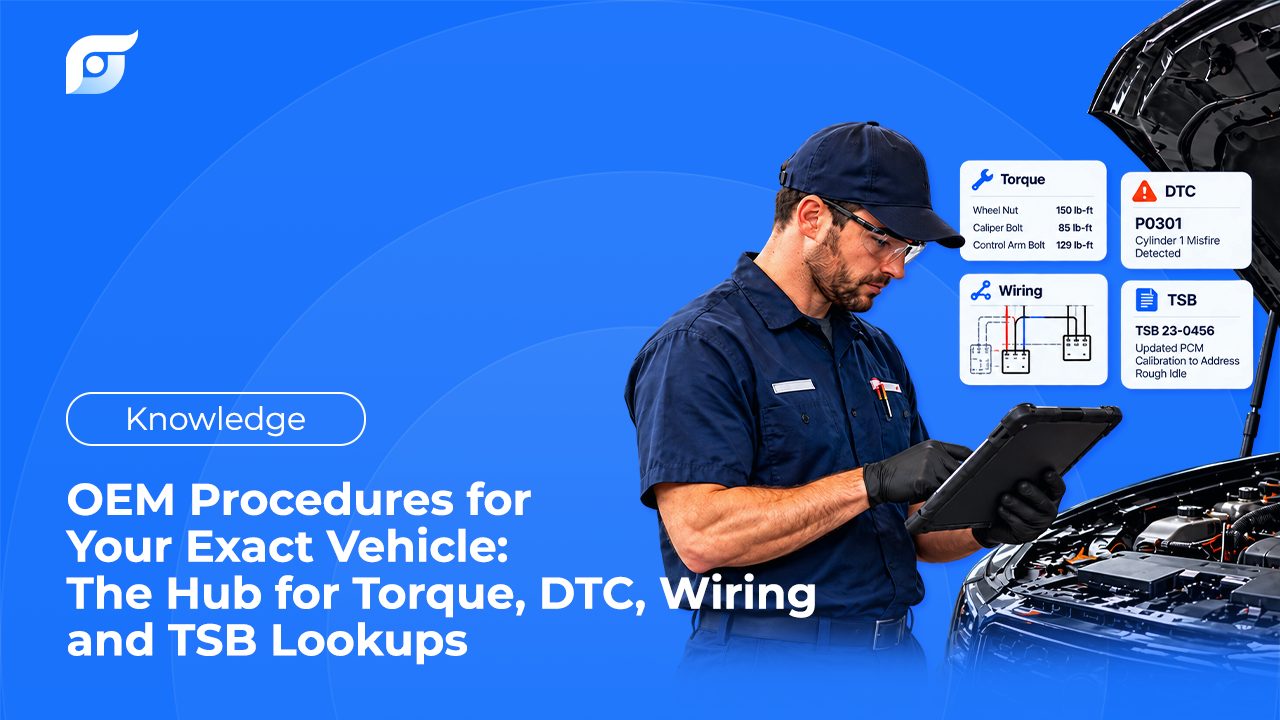
Four kinds of lookup cover most of what a technician needs from repair information during a working day: a torque spec or capacity, a diagnostic procedure for a code, a wiring diagram or component location, and a bulletin that may already describe the fault. Each one has its own failure modes, and all four share a single requirement: the answer has to belong to the exact vehicle in the bay, and you have to be able to see where it came from. This page is the hub for all four, with a real documented example in each section.
Quick Answer: The four everyday OEM lookups are specs and torque values, DTC diagnostic procedures, wiring diagrams and component locations, and technical service bulletins. All four are vehicle-specific, often down to engine, drivetrain, and build date, so the first step in any of them is pinning the exact vehicle: decode the 17-character VIN (NHTSA’s free vPIC decoder returns make, model year, engine, and body class), and on GM vehicles read the Service Parts Identification label for the RPO codes. How specific does it get? Ford’s own federal recall filing for campaign 22V-675 shows a wheel-torque tool set to 170 N·m instead of the intended 200 N·m, a difference of about 22 lb-ft that produced a safety recall on 1,519 trucks. Every section below links to the deeper guide for that lookup type, and each one ends the same way: the answer is only as good as the document it came from.
Before Any Lookup: Pin the Exact Vehicle
Year, make, and model are not enough on a modern vehicle. The same model year can carry two different transmissions, two wheel-stud sizes, or two calibration levels depending on build date. Three tools narrow it down before you open a document:
- The 17-character VIN. NHTSA’s vPIC decoder at vpic.nhtsa.dot.gov decodes it free and returns what the manufacturer filed: make, model, model year, body class, engine configuration and displacement, and more.
- The build date. Manufacturers scope bulletins by it. Ford’s TSB 20-2117, for example, applies to 2017–2018 F-150s with the 10R80 transmission built on or before 20 November 2017. A truck built a week later isn’t covered.
- The option codes. On GM vehicles, the Service Parts Identification label lists the RPO codes for what was actually installed at the factory. It’s typically inside the glove box, and GM vehicles from 2018 on also carry a QR code on the driver’s door B-pillar.
Pinning the vehicle first is what makes the rest of this page work. It is also the step most often skipped, because the search box doesn’t require it.
Lookup 1: Torque Specs, Capacities, and Fastener Values
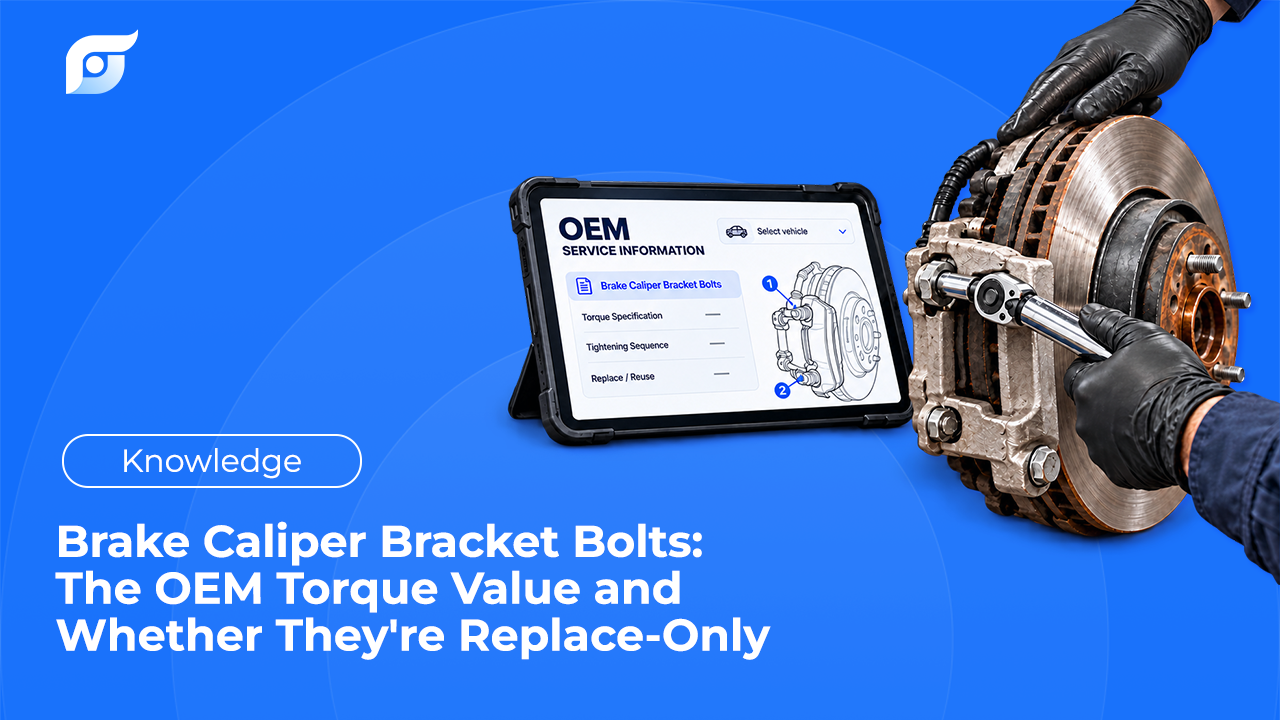
Torque is where “close enough” costs the most. A fastener is a spring: the spec exists to stretch it into a defined clamp load, and both under- and over-torque change what the joint does under load.
The documented example. In its Part 573 Safety Recall Report for campaign 22V-675, Ford reported that an automated lug nut tool at Dearborn Truck Plant “was incorrectly set to a nominal torque of 170 Nm instead of the intended 200 Nm” on 2022 F-150 Raptors with 37-inch tires. A plant audit of 477 vehicles found 236 with low residual torque, and the recall covered 1,519 trucks. The agency filing describes the risk plainly: below-specification torque “may result in loosening of the wheel attachment and potential wheel separation from the vehicle.” That gap was about 30 N·m, or roughly 22 lb-ft, on a fastener most people consider routine.
Specs that belong with the torque value, and that a chart usually omits:
- Whether the threads are specified clean and dry, since lubricant changes the tension a given wrench setting produces
- The tightening sequence and the number of passes
- Whether the fastener is one-time-use, staked, or stretch-design
- Any re-check interval after the repair
Those details live in OEM repair information, not in a consolidated chart, which is the practical difference between an OEM procedure and an aftermarket guide.
Lookup 2: DTC Diagnostic Procedures
A code is the start of a procedure, not a parts list. Code structure itself is standardized by SAE J2012: the first character names the system (P for powertrain, B for body, C for chassis, U for network), and in the powertrain range P0 and P2 codes are ISO/SAE controlled while P1 codes are manufacturer controlled. The diagnostic procedure behind the code is never generic.
The documented example. Toyota’s procedure for P0134, oxygen sensor circuit no activity detected, on the E120-generation Corolla runs an active test, checks other DTCs, reads sensor output on a scan tool, then works through the PCV hose, heater resistance, EFI relay, the harness and connector between the sensor and ECM, misfire, the air induction system, fuel pressure, injectors, and exhaust leaks — before it calls for replacing the oxygen sensor. GM’s service information organizes the same job differently, with named sections for Conditions for Running the DTC, Conditions for Setting the DTC, Diagnostic Aids, Circuit/System Verification, and Circuit/System Testing, which GM describes as a “step by step, positive-flow, testing sequence.”
Two things follow for any code. First, the manufacturer’s order exists for a reason, and skipping to the named part is how a good sensor gets replaced. Second, the procedure defines how to prove the repair: Toyota specifies a confirmation driving pattern, GM a Repair Verification step.
Lookup 3: Wiring Diagrams and Component Locations
This is the lookup that keyword search handles worst, because the information is drawn rather than written. Terminal numbers, wire colors, splice points, and connector views are graphics, and no amount of typing finds a wire color inside an image.
The documented example. The Toyota P0134 sequence above includes a step to check the harness and connector between the heated oxygen sensor and the ECM. Performing that step means knowing which ECM terminal belongs to that sensor, where the connector sits on the vehicle, and what the circuit looks like between them. Those are three separate documents in most service information systems, and all three are drawings.
Worth pulling as a set before you start testing a circuit: the system wiring diagram, the connector view with terminal numbering, and the component location. The case for each is in why wiring diagrams matter more than most technicians think and why OEM component location diagrams save more time than you realize, and the diagnostic payoff is covered in how OEM wiring diagrams speed up electrical diagnostics.
Lookup 4: Technical Service Bulletins
A bulletin can save the whole diagnosis, which is why checking for one belongs near the front of a job rather than after two hours of testing. Bulletins are also the lookup most likely to go wrong, in two specific ways.
Documented example one: the wrong vehicle. Ford’s bulletin titled “Torque Converter Shudder,” TSB 26-2171 dated 17 April 2026, covers the 2019–2024 Edge and 2019–2023 Nautilus with the 8F35 transmission. Search for an F-150 shudder bulletin and that title looks like a match. It isn’t.
Documented example two: supersession. Ford’s 10R80 harsh-shift bulletin 22-2139 was superseded by later bulletins with different vehicle and build-date coverage, including 23-2123 for 2017–2020 F-150s and 22-2428 covering 2017–2023 F-150s built on or before 15 August 2022. A bulletin number from a forum thread can be real and still be the wrong version. A TSB documents a known pattern, in the version current for that build.
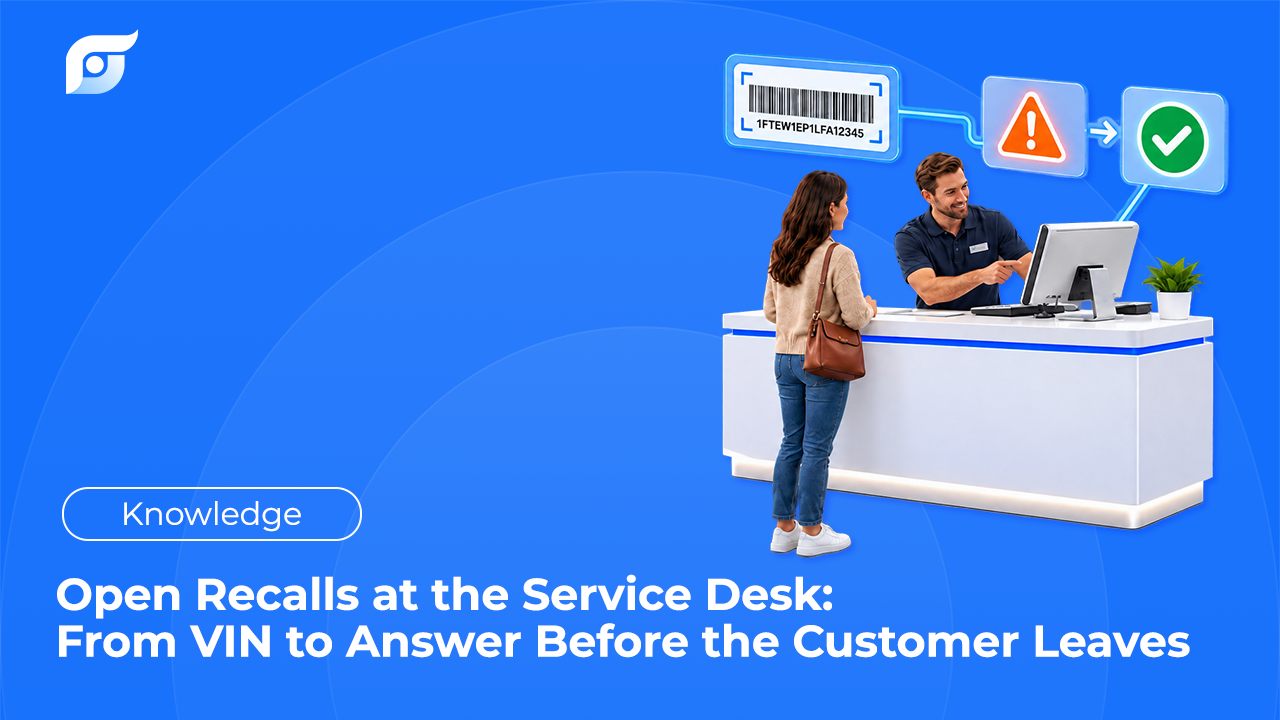
Keep bulletins separate from recalls. A recall is a mandatory federal safety remedy performed free of charge by an authorized dealer, regardless of the vehicle’s age or mileage; a TSB repair is billed or claimed under whatever warranty applies. Recall status is VIN-specific, so check the 17-character VIN at nhtsa.gov/recalls. The distinction is worked through in TSB vs. recall.
How the Four Fit Into One Repair
On a real job they arrive in sequence rather than isolation. A customer reports a surge and an illuminated lamp:
- Pin the vehicle. VIN, engine, build date.
- Check bulletins for the complaint and any stored codes, before testing.
- Run the DTC procedure for the code, in the manufacturer’s order.
- Pull wiring and location documents when the procedure reaches a circuit test.
- Pull torque specs and fastener notes before reassembly, not during it.
- Verify the way the procedure defines, with a confirmation drive or repair verification step.
Step 5 is the one shops most often leave until the tech’s hands are already busy. Pulling specs before disassembly turns a mid-job interruption into a quick read at the start, and the estimate benefits too, since OEM labor times assume the tech is working the documented procedure rather than discovering it.
Why the Lookup Method Decides How Often You Look Things Up
Here is the quiet effect of a slow lookup: techs do fewer of them. When finding a spec means leaving the bay, clicking through a model tree, and coming back, the temptation to work from memory on a “routine” fastener grows. That is how a 22 lb-ft gap, the same size as the one in Ford’s recall filing, enters a repair that nobody will ever audit.
The time cost is real on its own. The hidden cost of searching before every repair order and where technicians’ lookup time actually goes both land on the same place: the minutes go into navigation, not reading.
How Jayda Handles These Four Lookups
Jayda is built for exactly this set of questions. A tech asks the way they’d ask another tech — “cam phaser replacement procedure, 2018 F-150,” or “P0171 test procedure, 2016 Silverado 5.3” — and Jayda returns the matching OEM document with its source shown: the document, the manufacturer, and the model year. The data is licensed from MOTOR Information Systems, a Hearst company operating since 1903, and covers 43 manufacturers from 1985 to 2026. Coverage still varies by make, and Toyota, Lexus, and Scion data is pending, so confirm the vehicle is covered before relying on any tool for it.
Two design rules matter more than speed here. Jayda’s AI searches and retrieves manufacturer content; it does not write or summarize repair steps, the reasoning behind never generating OEM repair procedures with AI and why AI should search repair information rather than generate it. And when a document isn’t in the database, Jayda says so instead of offering the closest match, which on a torque spec is the difference between no answer and a wrong one.
Pro Tech, the individual plan, includes all 12 OEM data features covering these four lookup types, at $14.95/month with a 3-day free trial that includes 5 questions. Bring your own VIN and a job you already know the answer to — that’s the fastest way to judge whether the document that comes back is the one you’d have found yourself.