A repair estimate is only as good as the lines on it, and most of those lines start with a number someone had to look up. In Jayda, the estimate starts where that lookup ends: the labor-time answer for the exact vehicle. This walk-through follows one ordinary job, an alternator replacement on a [YEAR MAKE MODEL ENGINE], from the first question to a PDF the customer can read. It explains why each line is on the estimate along the way.
Quick Answer: Your first estimate in Jayda takes seven steps. (1) Ask for the labor time on the exact vehicle. (2) Tap “+ Add to Estimate” on the answer and choose an existing draft or start a new one. (3) Set your labor rate the first time you build an estimate; it’s saved for the next one. (4) Add the part at MOTOR’s suggested list price, with your markup (Flat or Tiered) on top. (5) Add your fees and one tax rate. (6) Edit any line: labor times are editable line by line, and the shop decides the final number. (7) Send it as a PDF, a printout or a view-only link. Labor times are sourced from OEM data via MOTOR, and every line shows its source.
1. Ask for the Labor Time on the Exact Vehicle
Every estimate line traces back to a lookup, so the first step is the lookup. Type what you’d say out loud:
Typed: “[YEAR MAKE MODEL ENGINE] alternator replacement labor time”
The answer returns the labor time for that vehicle, [X.X] hours in this example, sourced from OEM data via MOTOR, with the source shown. The vehicle is identified first, down to the engine, because the same alternator job can carry a different time on a different engine in the same model line. That’s how Jayda confirms year, make, model and engine before it answers.
Read the whole labor line, not just the number. A labor time states what it includes and what’s optional, and reading the base time, the each-additional time and the included operations is what keeps an estimate from double-counting or missing work. OEM labor times are a documented standard, which is why they make a good first line.
2. Tap “+ Add to Estimate”
On the labor-time answer, tap “+ Add to Estimate”. Jayda asks which draft the line goes to: an existing draft for that vehicle, or a new one. A vehicle can carry more than one draft estimate at a time. That’s useful when the customer wants a price on the alternator now and a separate price on the belt and tensioner they might do next month.
Starting from the answer, rather than from a blank form, means the labor line arrives with its source attached. Anyone who opens the estimate later can see where the number came from, and can check that source in one click.
3. Set Your Labor Rate the First Time
The first time you build an estimate, Jayda asks for your shop’s labor rate. Enter it once and it’s saved for every estimate after that. You can keep more than one rate, with one set as the default, and change them later in Shop Settings or in the options for a single estimate.
In this example the shop rate is $[RATE]/hour, so the labor line reads [X.X] hours × $[RATE] = $[LABOR TOTAL]. The time comes from the OEM data. The rate is yours. Those two things stay separate on the line, which is what lets a customer see both.
4. Add the Part at MOTOR’s Suggested Price, Then Your Markup
Add the alternator as a parts line. The starting price is MOTOR’s suggested list price for that part, $[PART LIST PRICE] in this example. It is a suggested list price, not your cost from your supplier, and it should be read that way.
Your markup goes on top of that price. In Shop Settings you choose how markup works: Flat, one markup for every part, or Tiered, where the markup changes with the part’s cost. The parts line then shows the price the customer pays, $[PART PRICE AFTER MARKUP].
5. Add Fees and One Tax Rate
Fees go on their own lines, set by your shop: shop supplies, disposal or whatever applies to the job. Keeping them as separate lines matters beyond tidiness. Several states regulate how shop-supply and disposal charges are disclosed, and California restricts generic shop-supply charges altogether. The lines that get forgotten on a repair quote covers which rules to check.
Tax is one rate, set as your shop’s default and changeable on an individual estimate. Sales tax treatment of repair labor varies by state, so confirm with your state revenue department how your rate should apply before you rely on the default.
6. Edit Any Line
Labor times are editable line by line, and that’s deliberate: the OEM time is the standard, but the tech knows this vehicle. A rust-belt truck with seized bracket bolts isn’t the same job as the clean one the time was built on, and the shop decides the final number.
Before sending, it’s worth a last pass for the lines that commonly drop off: diagnostic time, a calibration the repair triggers, one-time-use hardware, fluids. And if the vehicle has an open safety recall touching the part you’re replacing, that work belongs at the dealer, free of charge, not on your estimate. Checking open recalls at the service desk takes the VIN and a minute.
Once an estimate is marked Completed, it stays as it was sent. To change it, tap Duplicate. That creates a new draft with everything copied over, and the original stays on record unchanged.
7. Send It: PDF, Print or a View-Only Link
When the numbers are right, send the estimate the way your customer prefers: download a PDF, print it at the counter, or copy a view-only link to send. The estimate moves from Draft to Completed, and a completed estimate can be turned into an invoice with Convert to invoice.
Here is the finished example, line by line:
| Line | What it is | Where the number came from |
|---|---|---|
| Labor: replace alternator | [X.X] hr × $[RATE] | Labor time sourced from OEM data via MOTOR; your rate |
| Part: alternator | $[PART PRICE AFTER MARKUP] | MOTOR’s suggested list price plus your markup |
| Fees | $[FEES] | Your shop’s fee settings |
| Tax | $[TAX] | Your shop’s tax rate |
| Total | $[TOTAL] |
Each line can say what it’s for and where its number came from. That’s the point of building the estimate from the answer instead of from memory.
A Note on the Repair Itself
An estimate prices the job. It doesn’t replace the repair procedure. Follow the OEM procedure for the alternator replacement on that vehicle, including disconnecting the battery in the order the procedure specifies before touching the alternator’s output terminal. On some vehicles, that procedure also lists a battery management reset or relearn after reconnecting.
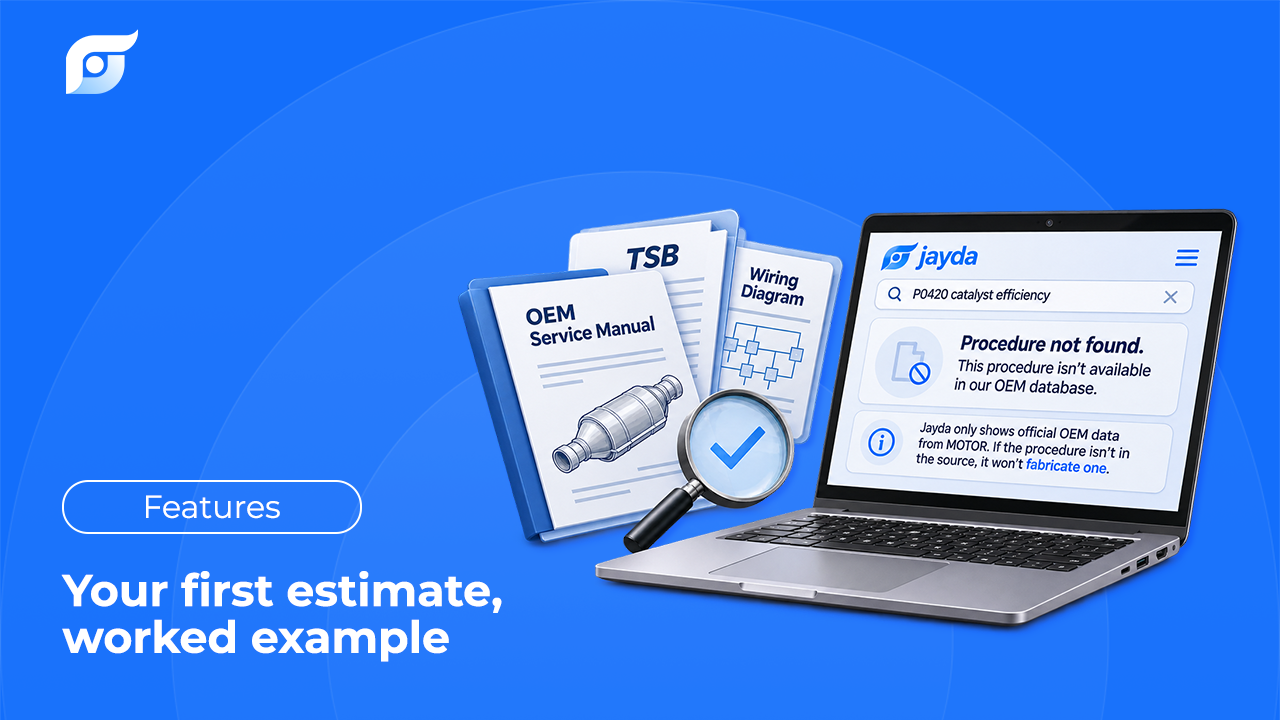
If the documents for a vehicle aren’t in the database, Jayda says so rather than giving you a near match, and here’s what happens in that case. Some repairs also trigger work beyond the main job, such as an ADAS calibration the OEM requires, and that belongs on the estimate too.
For the full picture of how estimates fit with the rest of Jayda, see from the OEM labor-time answer to a quote and OEM procedures for the exact vehicle. To see the flow from VIN to cited answer, see how it works.